Customizing Your Chatbot: Tailoring AI Conversations to Perfectly Match Your Brand and Customer Needs. This article will provide a high level overview of how to change a Botpress AI Chatbot Color and Style Customization.
I was trying to customize the background color and text color of my Botpress Chatbot and went through much more documentation than I needed. Here is a simple 5 minute and user friendly solution!
While AI chatbots bring tremendous benefits to businesses, customizing these virtual assistants is crucial to maximize their potential. By tailoring the chatbot to perfectly match your brand and customer needs, you can create a personalized and engaging experience that sets your business apart. Here’s why customization is essential for your AI chatbot:
Brand Consistency: Your chatbot serves as an extension of your brand, representing your values, tone, and personality. Customizing the chatbot’s appearance, language, and communication style ensures that it aligns seamlessly with your overall brand identity. This consistency fosters trust, familiarity, and a cohesive customer experience across all touchpoints, strengthening your brand image in the minds of your customers.
Improved User Engagement: Customers are more likely to engage with a chatbot that feels familiar and relatable. By customizing the chatbot’s name, avatar, and design elements to reflect your brand, you create a sense of connection and comfort. Additionally, tailoring the chatbot’s responses and interactions to resonate with your target audience’s language and preferences enhances user engagement, encouraging customers to interact more and seek assistance.
Relevant and Personalized Recommendations: Customizing the chatbot enables it to understand and respond to user inquiries accurately and contextually. By integrating your product catalog, customer data, and user behavior insights, the chatbot can deliver personalized product recommendations, offers, and relevant information. This level of customization enhances the customer experience, boosts conversion rates, and drives customer satisfaction.
Keep in mind, this article assumes that you already have a Botpress Chatbot implemented!
The link above provides an extremely user friendly interface to design, style and polish the look and feel of how you want your chatbot to be styled.
You can see changes implmented in real time on the “Chatbot Assistant” that is integrated on the stylers website.
Here you can change things such as the Avatar Color, Header Background Color, User Text and Bubble Color, The Boarder Radius, and much more!
Step 2: Generate CSS URL
Once you are content with the look and style of the chatbot. You need to generate a link to a CSS file. We need to feed the URL of the stylesheet to the Botpress Chatbot.
Lucky for us, the Botpress Styler website makes this as simple as the click of a button. In the top left simply click “Get StyleSheet Url”.
Step 3: Add StyleSheet to Botpress
We are almost done, we simply need to feed the CSS URL to our Botpress Chatbot, and embed the new Botpress Chatbot that has been customized with the stylesheet to our website.
First navigate to Botpress and select your desired chatbot.
The click on Integrations.
Then Scroll down and paste your CSS URL in the “StyleSheet” field.
Then hit save changes.
Step 4: Publish
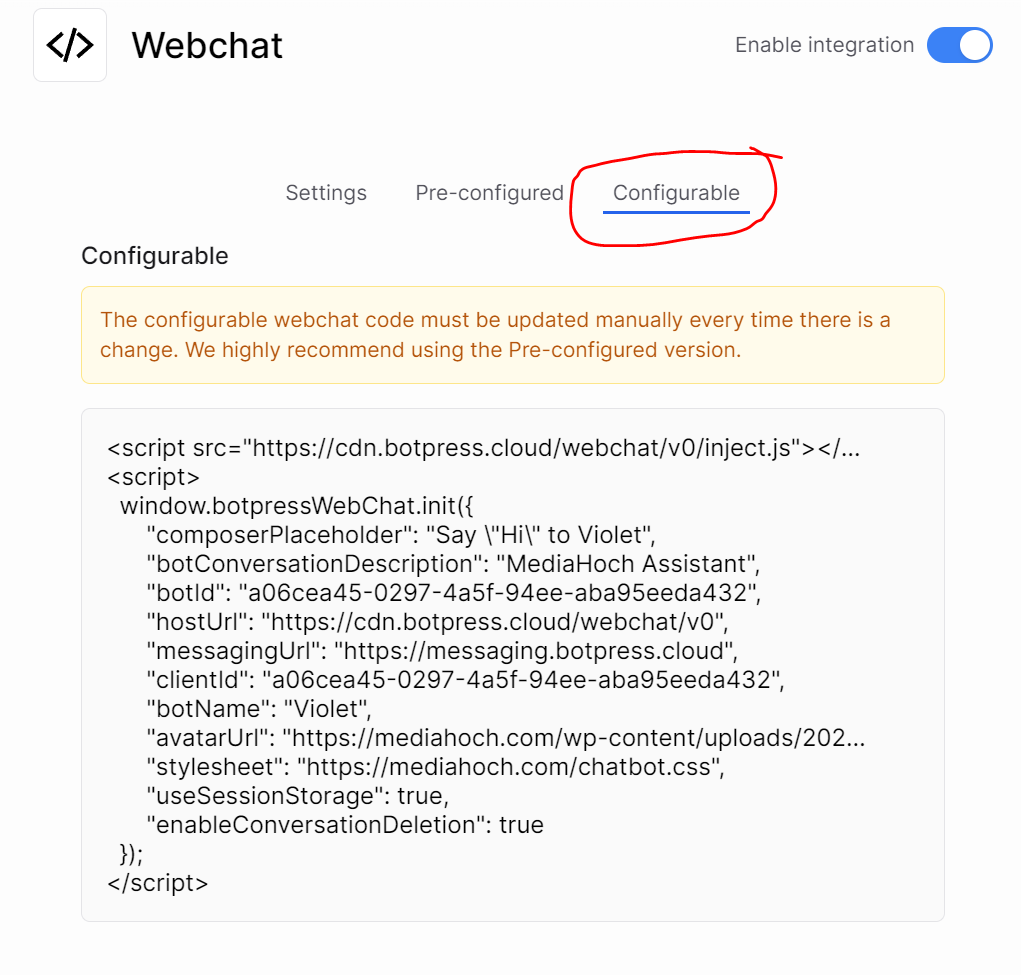
All that’s left to do now, is publish. Simply copy the “Configurable” html embed code and paste it anywhere on your website.
Boom, it is that simple. Now you have a custom designed chatbot on your website!